Home (amp tone and effects placement)
DIY Speaker Cabinet Isolation Box
Mike Ralph's DIY speaker cabinet isolation box fits a 2x12 cab.� Created largely by reading Amptone.com, mirrored at Mike's request. �Mike Ralph wrote the following.
Speaker Isolation Box for Marshall
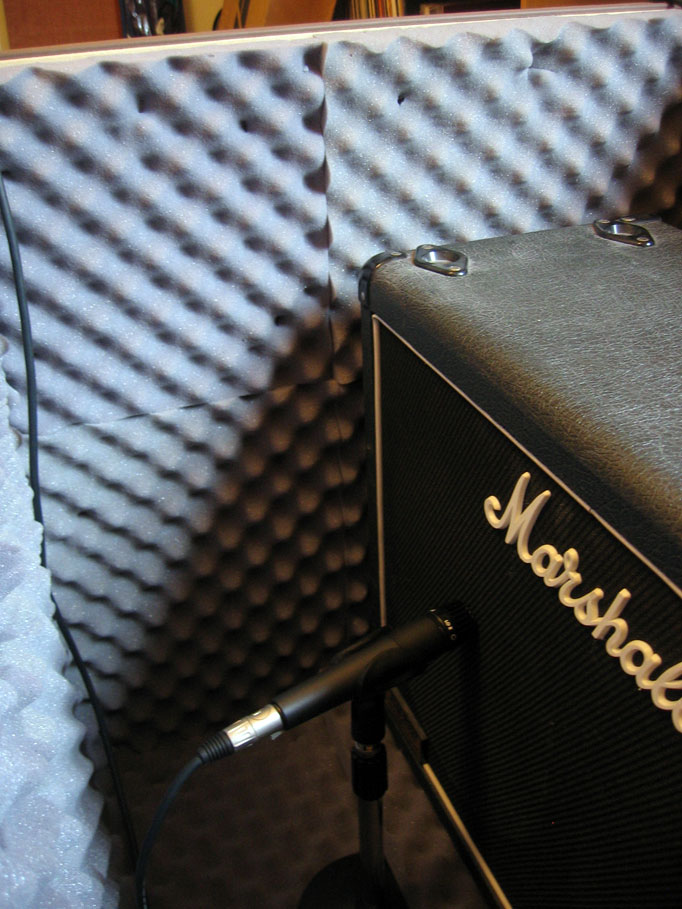
I decided to build this after years of messing around with various methods of getting "that" sound to my computer (NI Guitar Rig, PodXT, etc, etc). No DI sound I've tried comes close to miking up a cab. The closest Ive come is using my Marshall SE100 Speaker Emulator direct... the thing sounds great. I recommend you try and grab one... alternatively I hear great things about the Palmer. With this box and my SM57 I create a stereo signal going in with the SE100 and get a truly awesome combined sound.
Also this thing REALLY WORKS! I can crank my power amp right up and it soaks it up. All you get is total tone right into the microphone. It doesnt sound muffled or odd in any way. I made sure the speaker cab has breathing space.
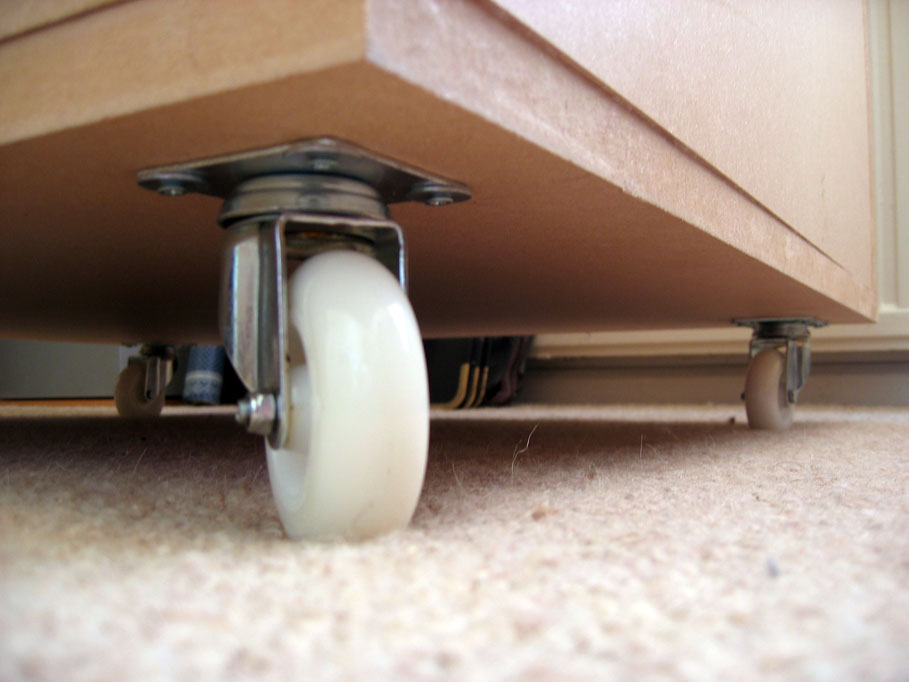
The castors help take away the booming low end off my studio floor. If its not off the floor you will still get neighbours complaining!
What you will need:
1" MDF cut into following sizes:
2 pieces of 27" x 27" (sides)
2 pieces of 34" x 27" (sides)
2 pieces of 34" x 29" (bottom and top)
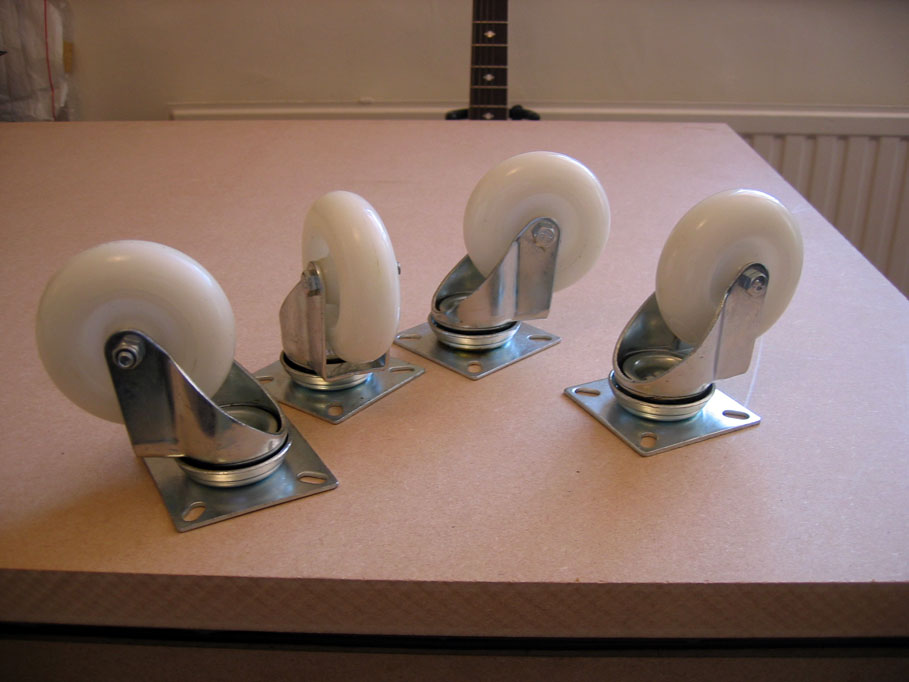
4 Heavy Duty castor wheels
Skeleton Gun
Silicon Filler
Rubber Draught Excluder
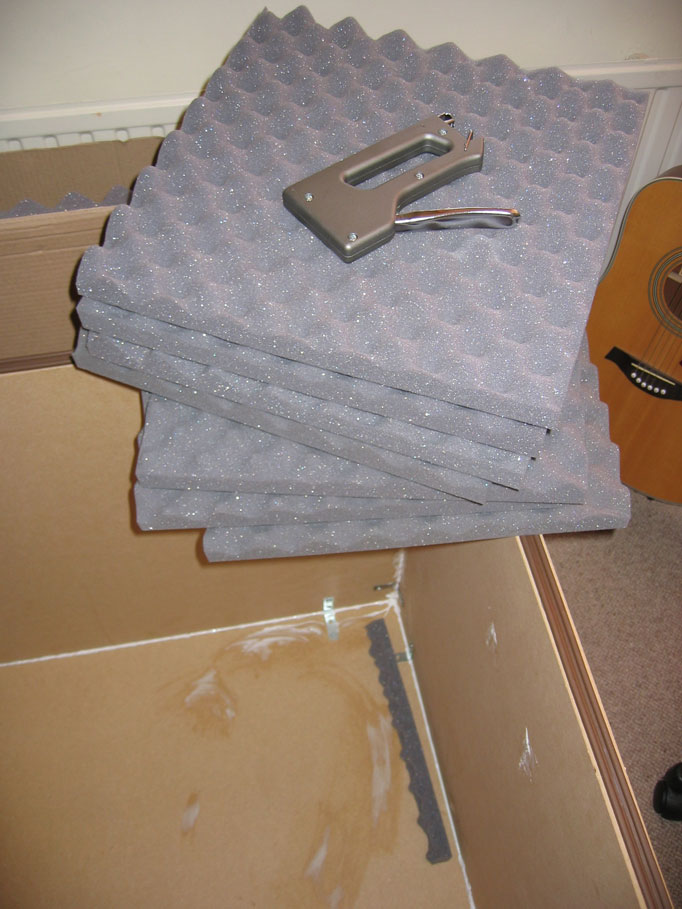
Heavy Duty Stapler with 8mm staples
Eggshell soundproofing foam
Right angle metal brackets and �" screws
Drill
Wood Glue
Start by gluing your box together with wood glue and screwing in your brackets. I started with the box on its side for practical reasons.
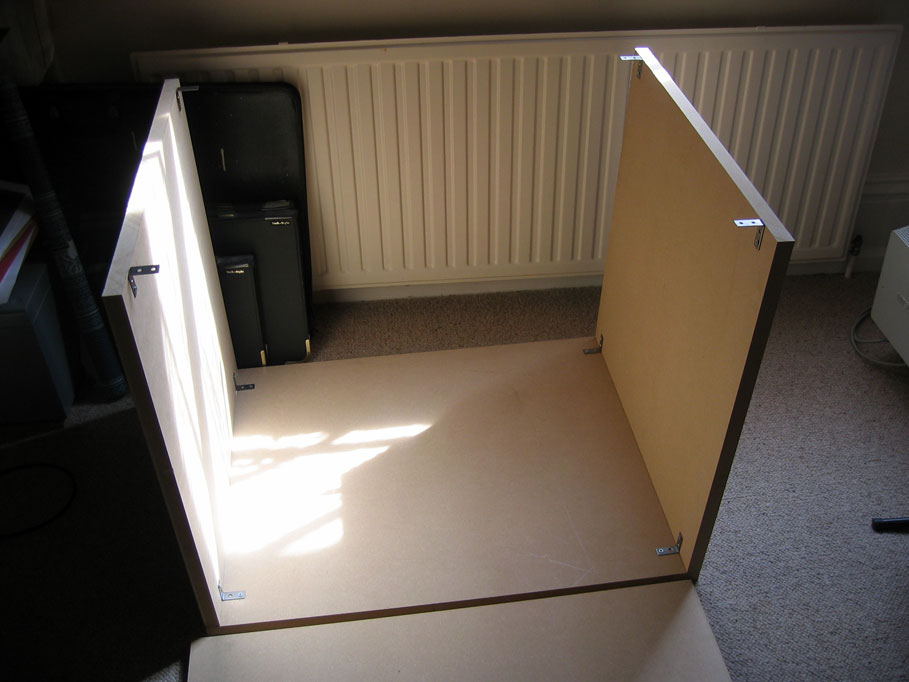
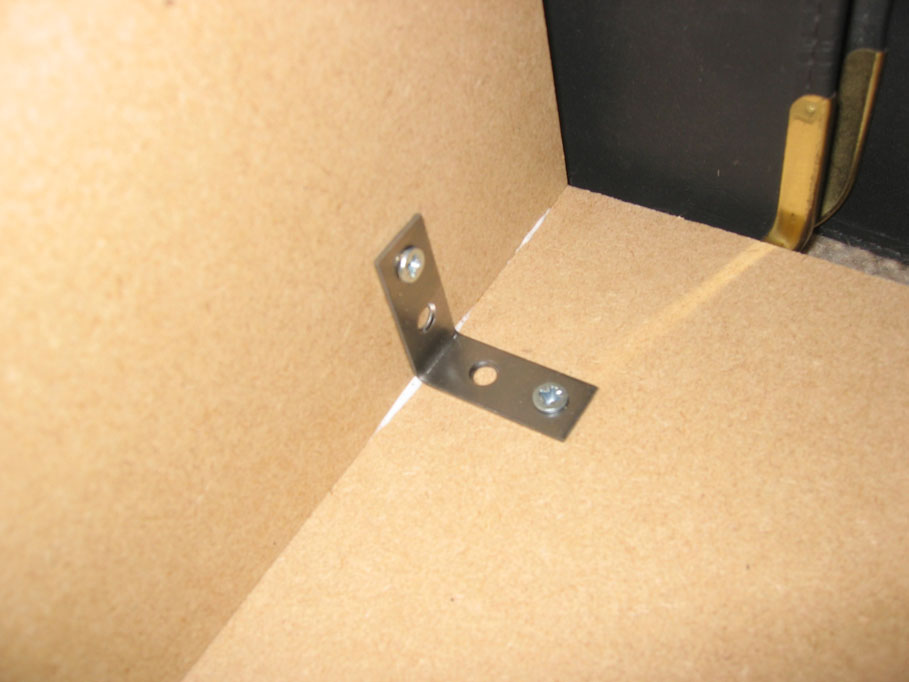
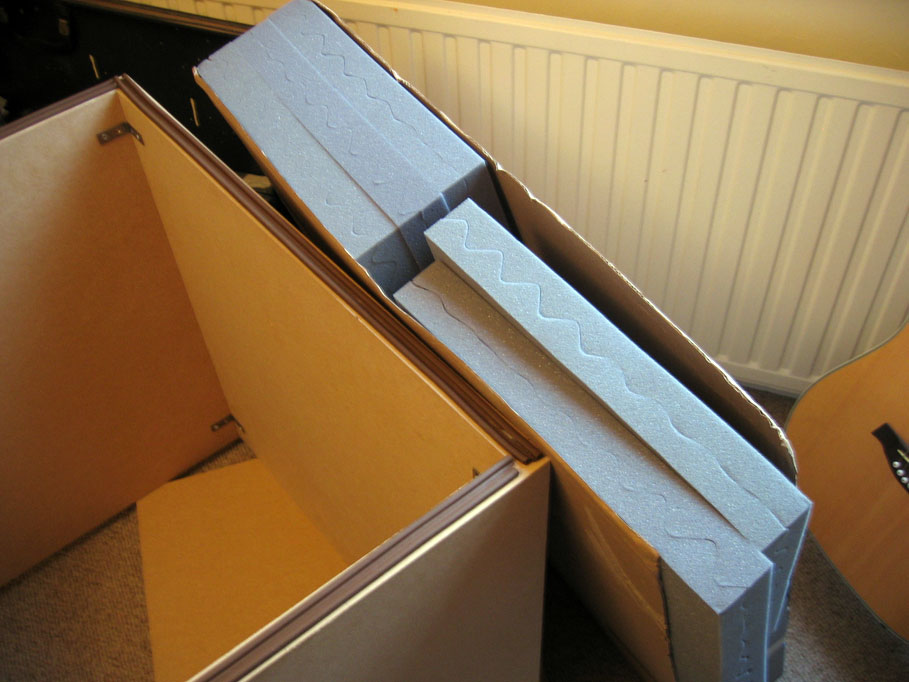
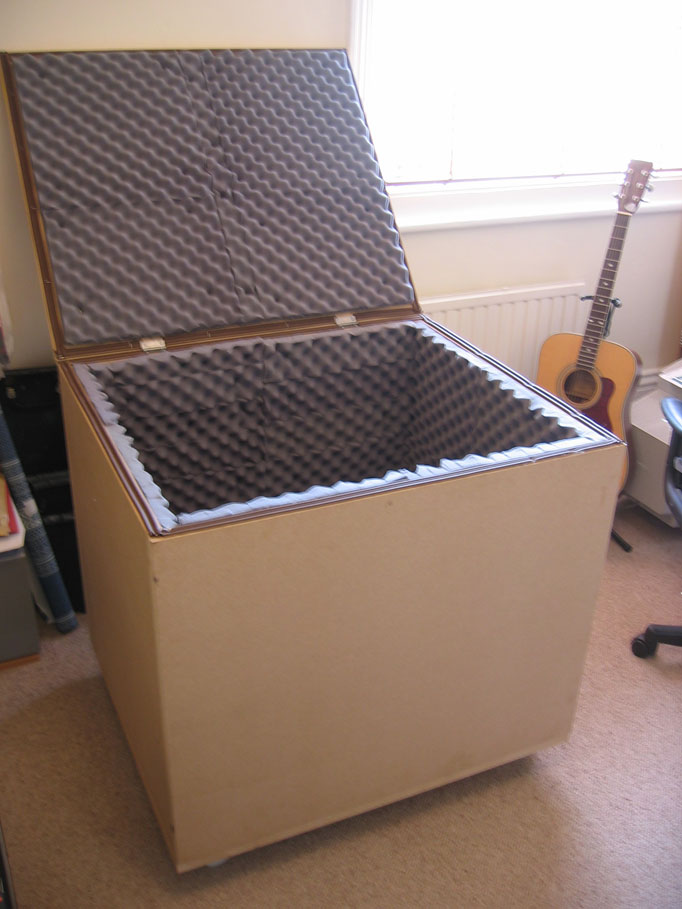
Continue until you have the basic shell. Ive reinforced the build with metal brackets at each corner. Considering the final weight of this thing its a good idea not to rely solely on the glue. At this point Ive also added the draught excluder rubber trim for the lid.
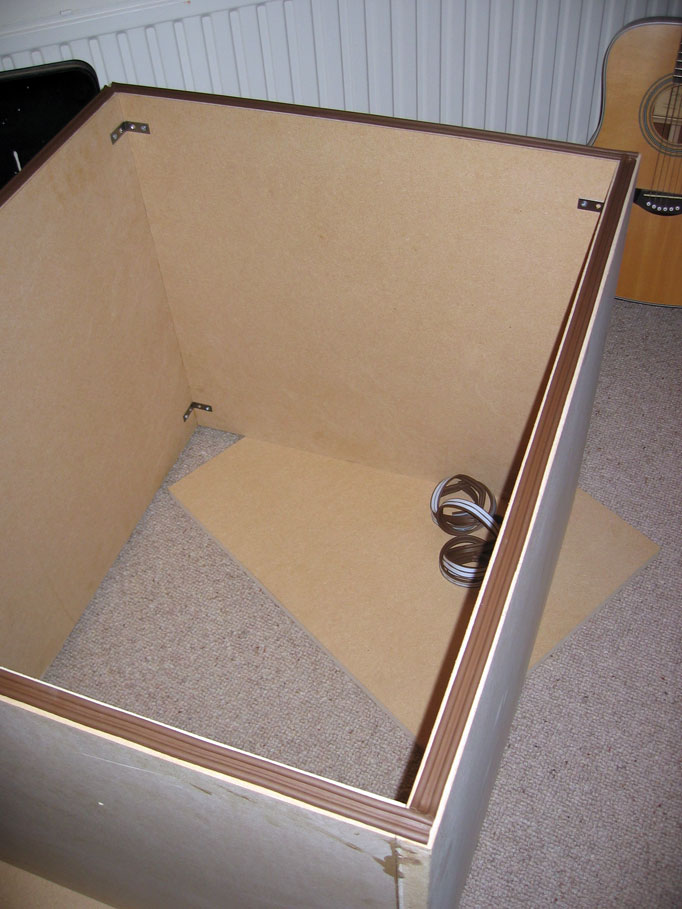
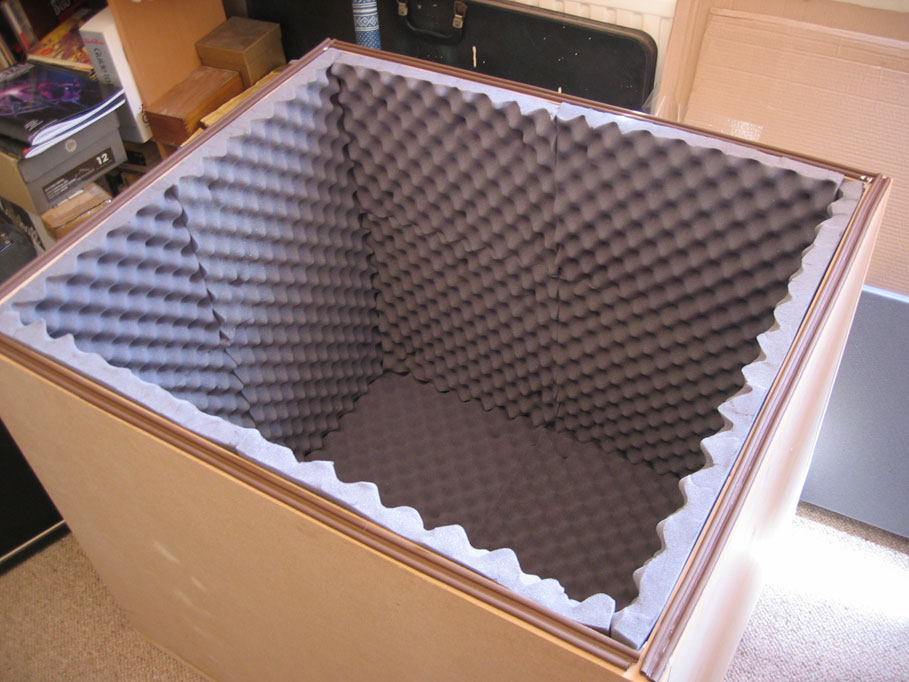
The box!

Now we're ready to add some extra soundproofing before we install the foam. Apply the silicon to all joins in the box. Do it slowly and apply lots so it fills any pesky cracks.
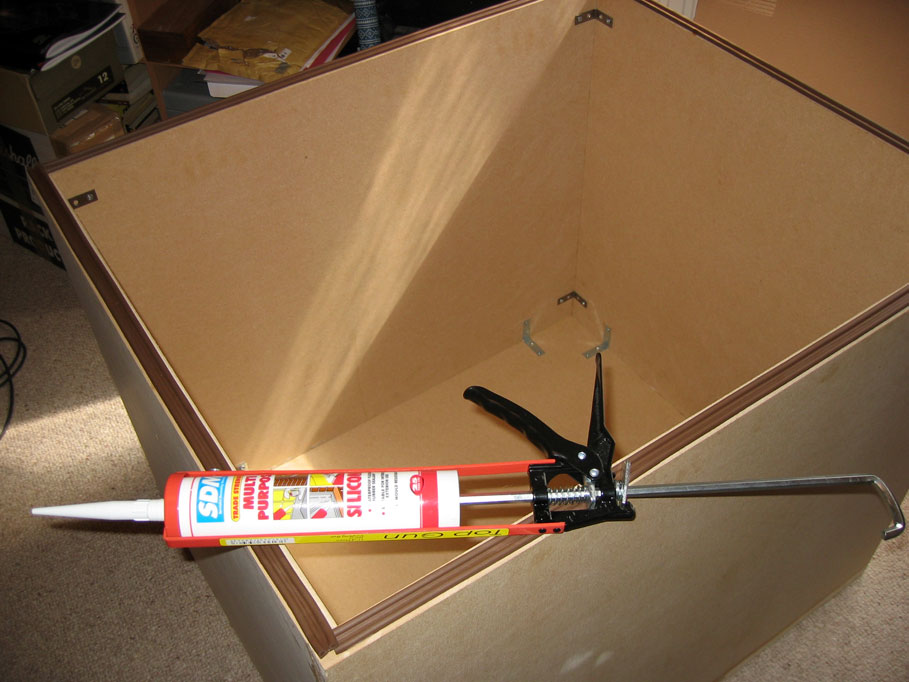
Give the silicon a day to dry depending on how thick youve applied it. Also remember to open a few windows - the stuff stinks and is bad for you! Once thats done you can start stapling the foam to the inside of the box. Notice I havent been very neat with my silicon - it doesnt matter as foam is going over it.
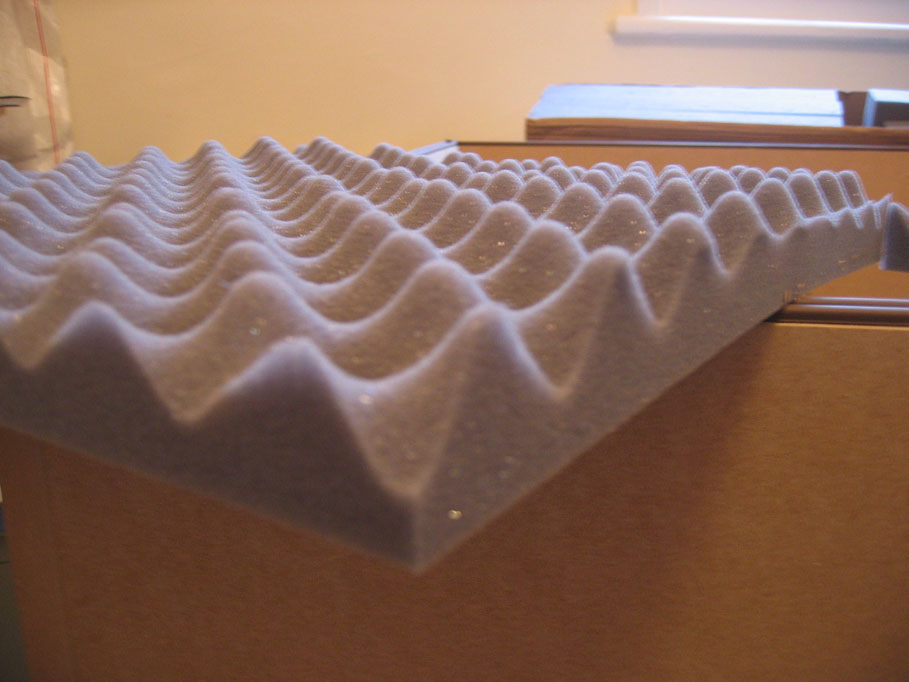
I bought my "eggshell acoustic soundproof treatment foam" from ebay for �25 ($46)
Each tile is 15� (381mm) x 15� (381mm). Each pack will cover 37 � square feet (3.48sqm)
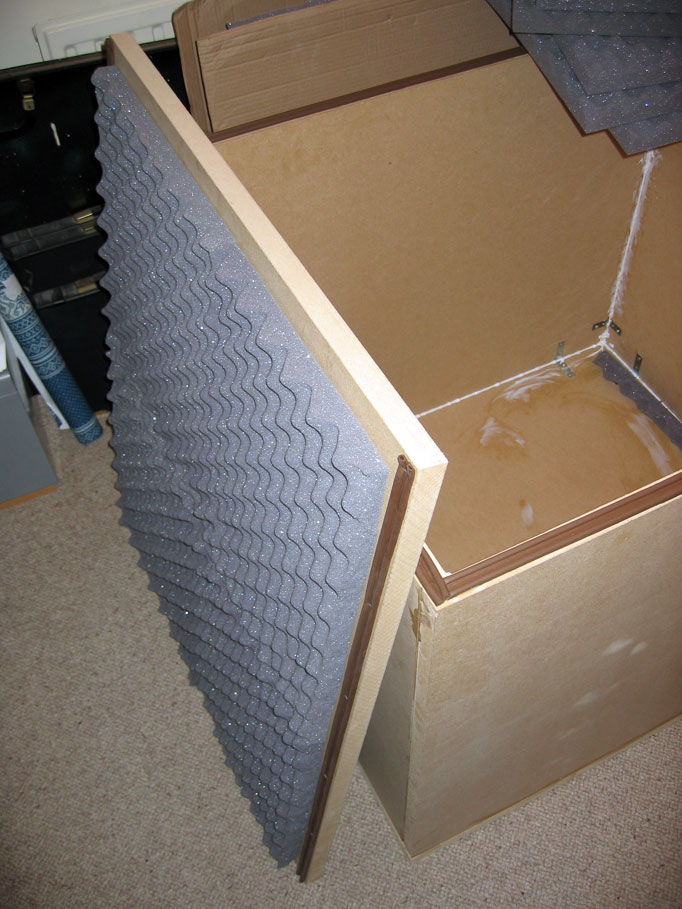
Here Ive stapled foam to my iso box lid. Ive stapled so I can remove at a later point if needed. 4 staples applied approx 4" in in each corner will suffice. Staple in the lower contour of the foam nearer the wood. Remember to leave some space at the sides so it can fit snuggly when it goes on.
We're almost there!
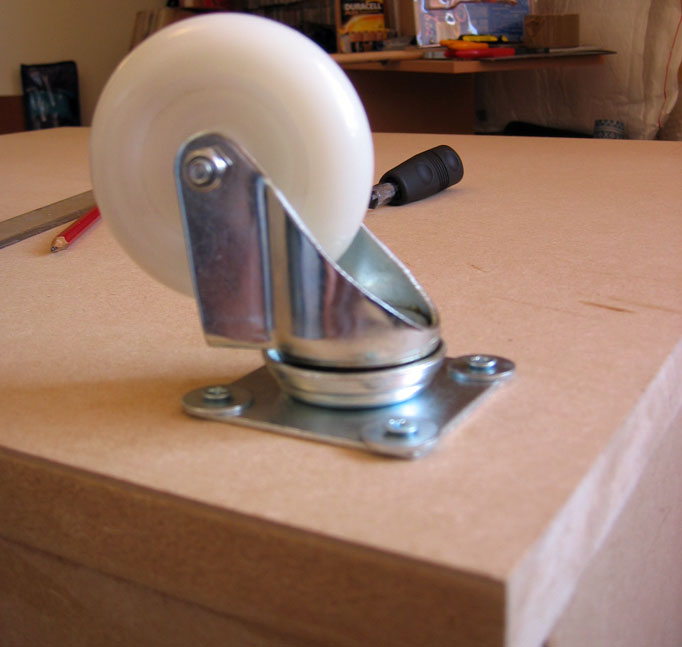
Ive gone for Nylon swivel plate 75mm castor wheels that each take a load of around 66kg.
With hinge attaching lid.
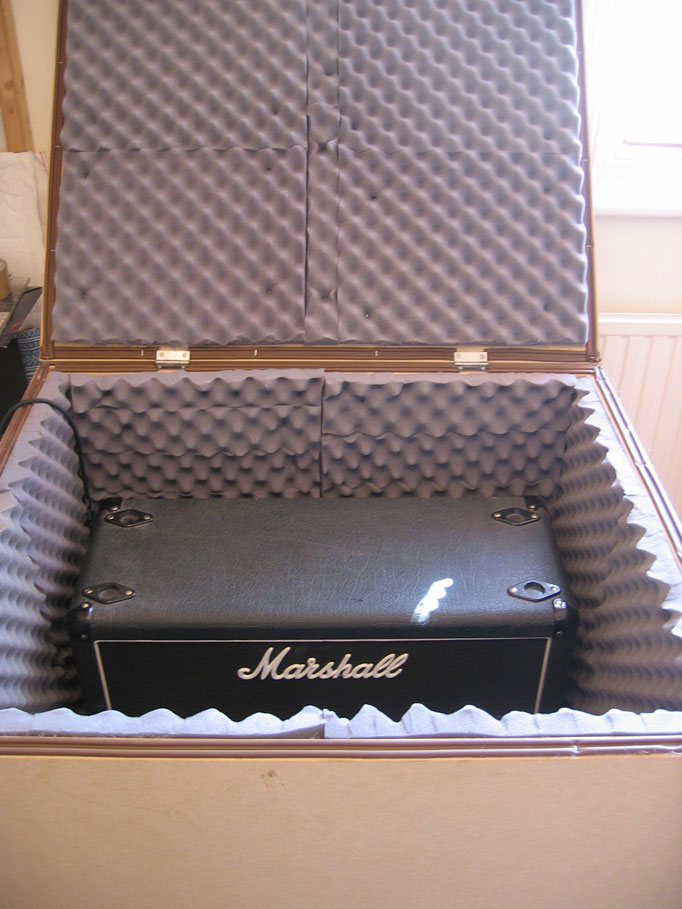
The cab and mic leads can just go over the sides. The draught excluder seals around the leads well enough for our needs.
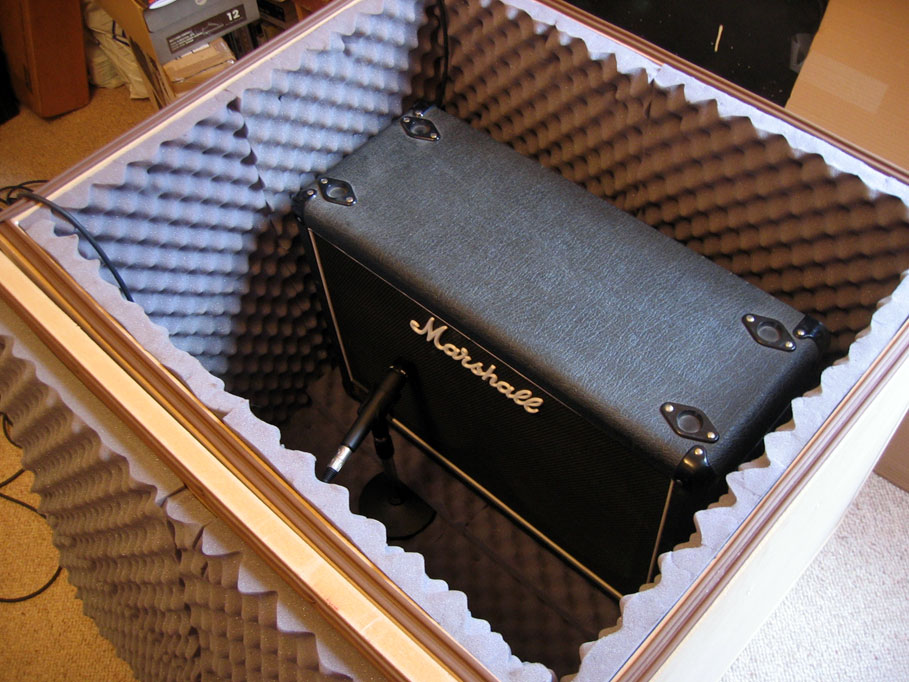
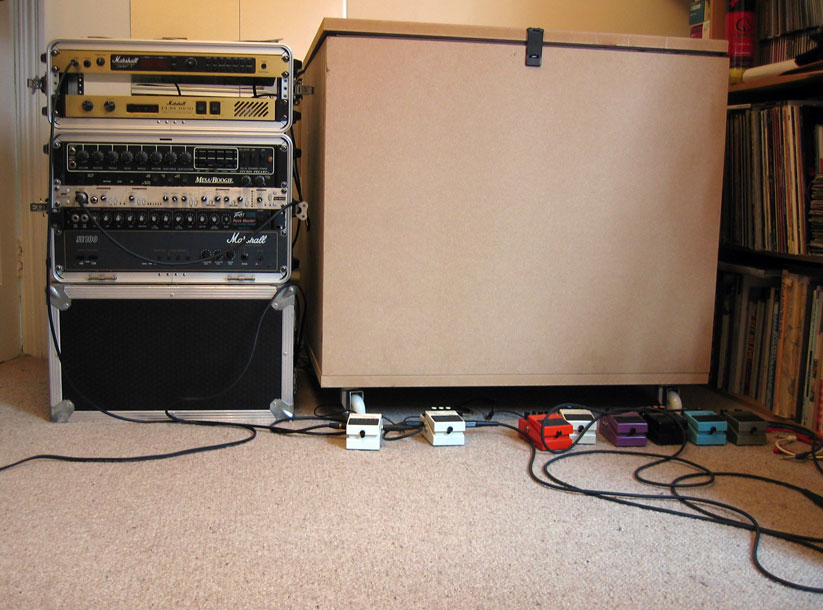
My new set up with iso box! Ive added a latch to seal it tight...
Good luck if you're making one! If you have any comments or suggestions mail me at mike.ralph at gmail.com